
Hi guys, Josh Bowmar here from Bowmar Archery.
I just posted everything there is to know about the Bowmar Archery grip tape. Today, I am going to explain how to install the Bowmar Archery grip tape on your bow. I also made a Bowmar Bowhunting YouTube video.
You don’t need any special tools or glues to install this on your bow. Everything you need comes right in the package itself.
Inside the package, you’re going to get two things.
- The grip tape
- Locking tape
When I was designing this product, I wanted to put enough material in one package to do two bows. This means you’re getting an entire grip tape for free! Let’s get into the installation process.
Step 1: Move protective layer
I recommend going slow and steady when removing this layer. Behind this protective layer is a tacky grip tape.
Step 2: Remove the adhesive tape
You want to remove the adhesive as you’re wrapping your bow.
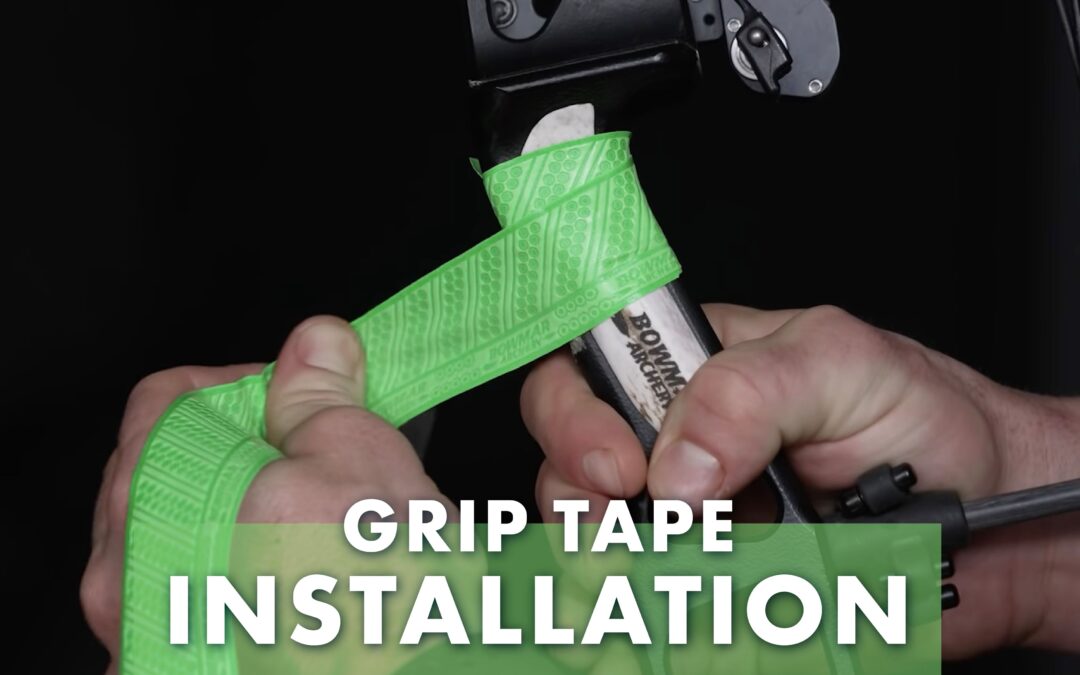
Step 3: Apply the tape to the bow
I like starting with the skinny end of the tape up top. I go to the top of the rest, pull the tape really tight, and come around the back of the rest. As you’re wrapping, you should be pulling it tight, and peeling the adhesive as you wrap.
This Bowmar Archery grip tape will give you excellent grip, regardless of how you wrap it.
Step 4: Cut off the remaining tape
I wrap all the way down to the bottom of my rest, mainly for looks. Once I am done wrapping, I take a pair of scissors and cut it on the side that I don’t take a lot of photos of.
Step 5: Secure the locking tape around the base of the rest
This locking tape will secure the grip tape. I like to place it at the bottom of my rest. I show where I put mine in my Bowmar Bowhunting YouTube video.
The installation for the Bowmar Archery grip tape is really easy! Be sure to check out my Bowmar Bowhunting YouTube videos where I go over the benefits of using this tape.
Josh Bowmar
Recent Comments