
Hi guys, Josh Bowmar here from Bowmar Bowhunting and Bowmar Archery.
Today I am going to be sharing my step-by-step process of how I made this homemade bow riser with antler in it. I also have a video on Bowmar Bowhunting that goes through this whole process, and it includes a little behind the scenes footage. I made this bow a couple months back for a future Cape Buffalo hunt that I will be going on. I put a lot of work into my bows before I leave for a big hunt.
The goal was to put some moose antler on the front of the bow. Below, you can see that the antler obviously doesn’t fit.
INSERT IMAGE 1
We took some measurements and marked it so if we grind it down enough, it should fit. We are grinding off everything below the blue pen
INSERT IMAGE 2
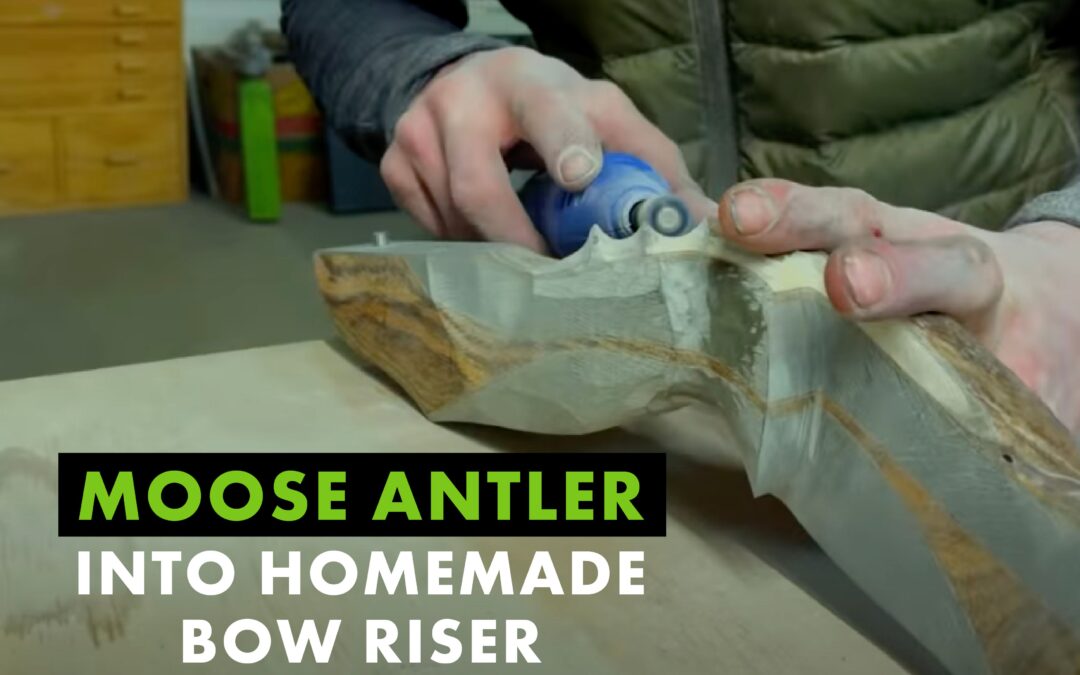
In my Bowmar Bowhunting YouTube video, I show footage of me grinding down the antler. It’s looking like it’s going to fit like a puzzle piece.
After I got my antler down so it would fit, we had to stabilize the antler so it would stick to the riser. In order to do this, we put the antler in the oven, heated it up, then cooled it down, then we soaked it in acetone. This process removes all the oils from the antler. After that, we took super glue and painted it on the entire side to fill in all the pores and holes that antlers have.
It now fits perfectly! We then glued it onto the front of the riser.
INSERT IMAGE 3
I show the rest of the work we did to my bow on the Bowmar Bowhunting YouTube channel! Be sure to give the video a like and subscribe. We are giving away an African Safari hunt once we hit 200,000 subscribers!
Josh Bowmar
Recent Comments